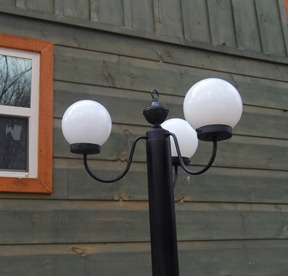
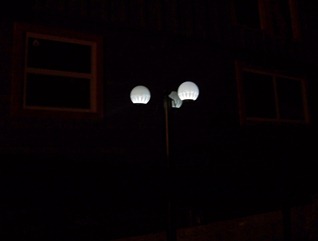
Have you ever had a project in your mind, but have to wait to put it together? Well, I’ve been waiting since late last summer to make a solar “street lamp” for my yard. It was worth the wait though! It turned out as good as I had envisioned it…even a little better! Last summer I made this small solar light for a table in my garden
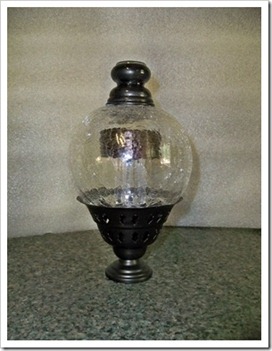 and knew I wanted to make more. I don’t like the plain straight “stick” solar lights…to me they don’t blend in with anything. I have wanted to make some of these with different size lights, bases and globes. Last year I got to thinking that if I could put these in a globe for a table, why couldn’t I do something like this:
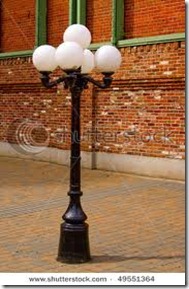
 using solar lights instead of electric??? Well, I’ve had all winter to think about it and to collect fixtures and globes. When it warmed up last week, I got started!
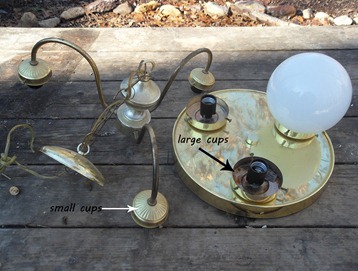
 I found these two lovely brass light fixtures at the thrift store…different times, different stores.
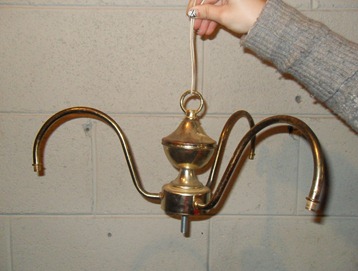
 The one on the left I bought to be the top of the street lamp. the one on the right I needed for parts and globes. There were three globes when I bought it…but I broke two of them!!! I did find some more though….whew! I started out by stripping them of all electrical stuff, right down to the metal. I pulled all the wires out and ended up with this:
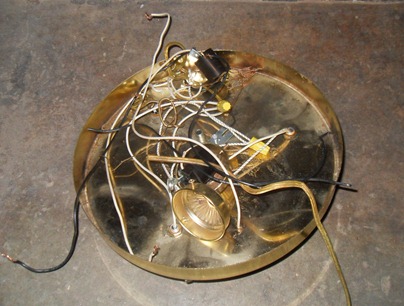
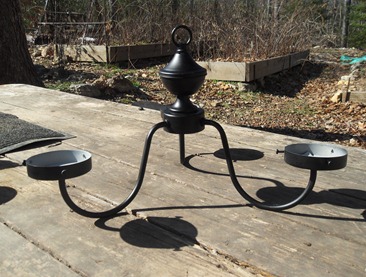
Then I loosened the screws and turned the arms of the light fixture up, so the globes would be sitting on top. From this:
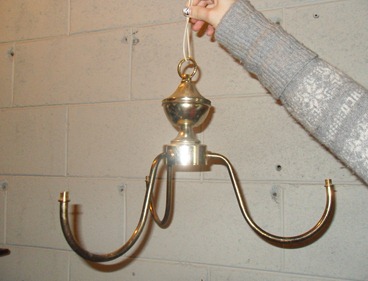 The “cups” that hold the globes in on the chandelier were smaller than the bases of the glass globes, but the “cups” that were on the ceiling light came off, so I took the small ones off and and put the big ones on..but forgot to take the pic of the switch.
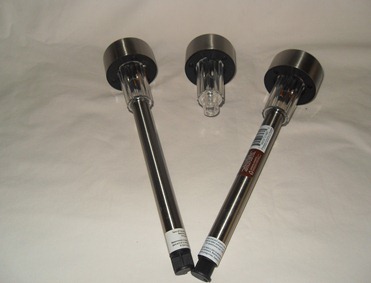
I bought several of these solar lights at Walmart last summer. I took the stake off of the light.
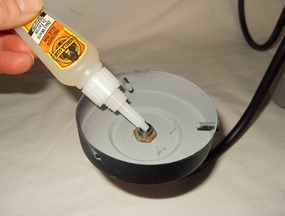
and used Gorilla Glue to hold them into the light fixture. The plastic fit right down over the nut in the light fixture.
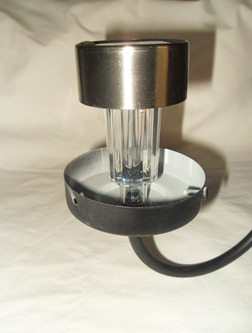
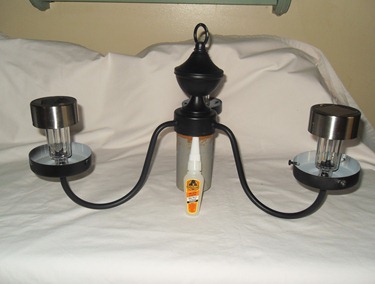
Meanwhile I had hubby working on the pole for me. He cut the pvc to the right size. I used one piece of narrower pipe (2.5 inches) and one piece of 4” pipe for the base.
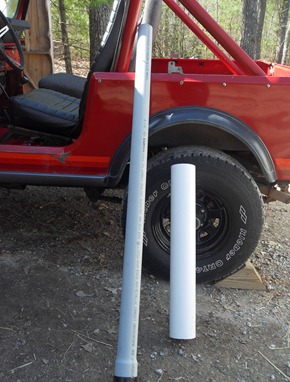
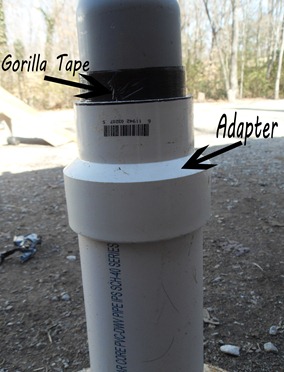
I started out with a 4 foot piece of 3” and and a 30” piece of 4” of pipe and bought an adapter to put to them together. When we held the light fixture over the pipe, the pipe seemed a little wide for it, kind of swallowed it up, so I used a 2.5” piece instead. Hubby wrapped Gorilla tape to make it fit snugly. Once he had them glued together with regular pvc glue, he cut the tape down even with the top of the adapter.
 Hubby was really gettin’ into my project and even offered to make me a base out of a scrap of avantec plywood.
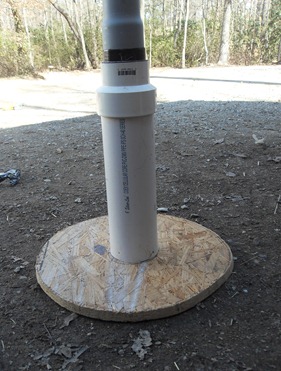 He also glued a piece of pvc pipe up into the fixture so that it would slide in and out of the pole for easy change of the solar lights when necessary.
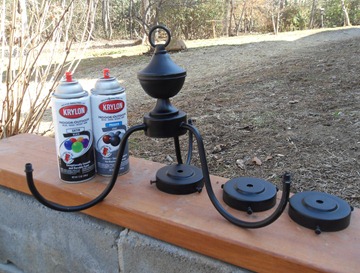
When all the pipes were put together to make the pole, I painted them with a coat of Valspar Plastic Primer and then Krylon Satin Black. I gave the wooden base a coat of Kilz 2 primer and then sprayed it black. When it was all dry, hubby put the lights in.
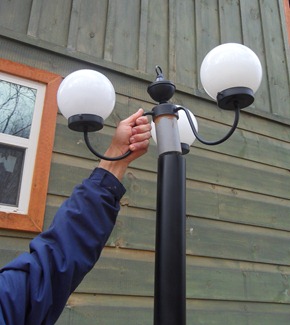


I am participating in Metamorphosis Monday at Between Naps on the Porch and these other parties and many of the parties listed in my sidebar! Come check out some of the awesome projects! I’ve also entered this in the DIY Club monthly contest!


 >
>
 >
>

 >
>


 >
>
 >
>

